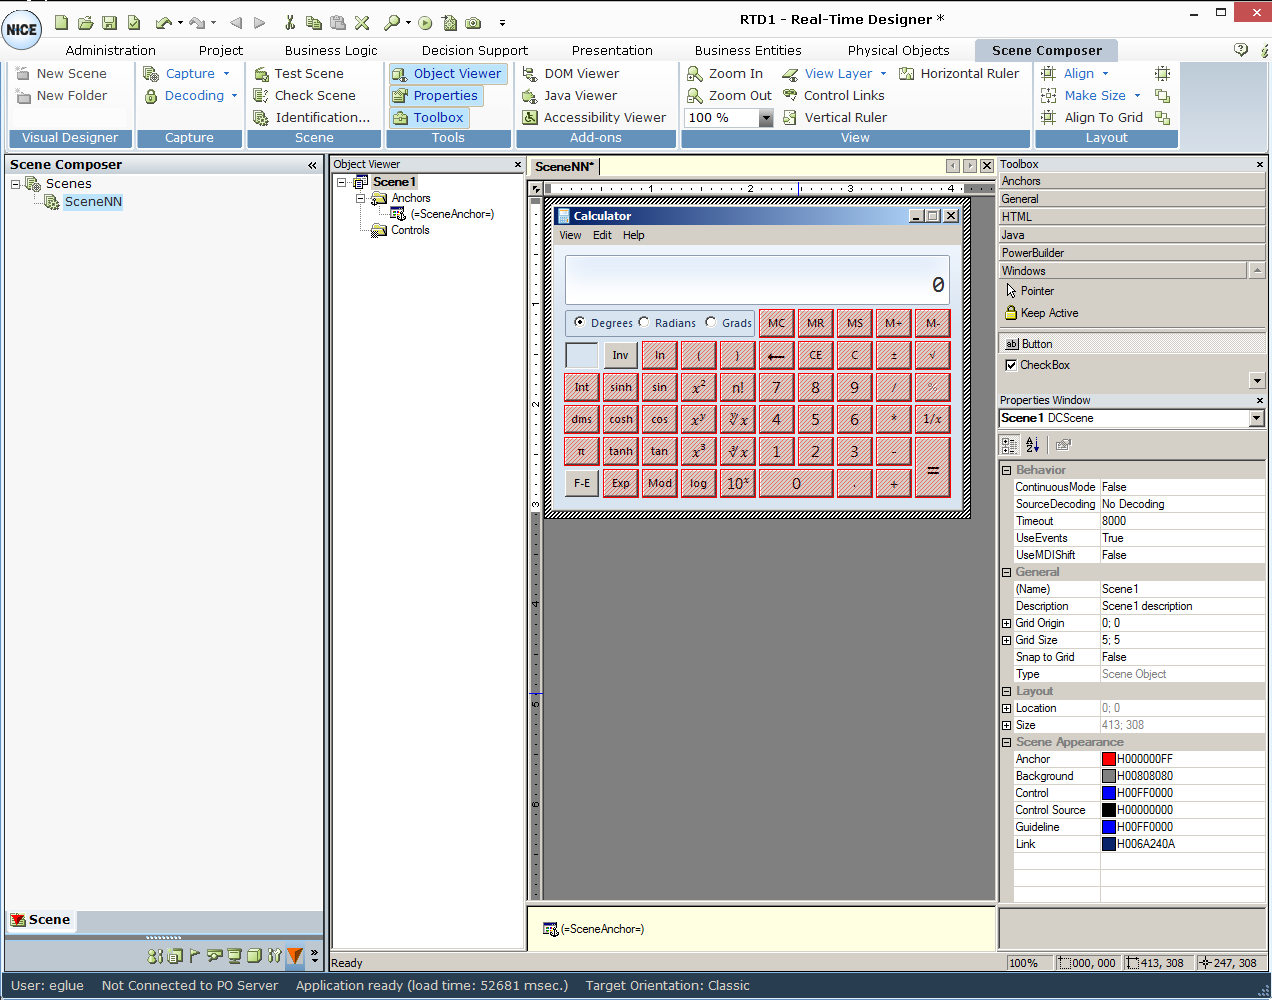
In Scene Composer, you create controls by clicking the control you want in the Toolbox and then drawing the control's region on the scene. When you click a control, the Scene Composer shades the window objects of the scene, based on the selected control.
The following types of controls are available in Scene Composer:
ActiveX
General
Html
Java
PowerBuilder
Windows
To define the controls for a scene, the target application does not need to be running on the desktop.
To define a control:
| 1. | Click the relevant control in the Toolbox. |
| 2. | Click and drag the mouse to draw a control region on the scene. Scene Composer shades the window objects on the scene according to the control selected. |
For Windows controls, it is sufficient to click the window object. The control region automatically resizes to the window object.
After creating a control, Scene Composer adds a sub-branch under the Controls or Anchors folder in the Object Viewer, as appropriate. For Windows controls, Real-Time Designer automatically creates both a control item and an anchor item. The anchor identifies the child window among the scene’s child objects.
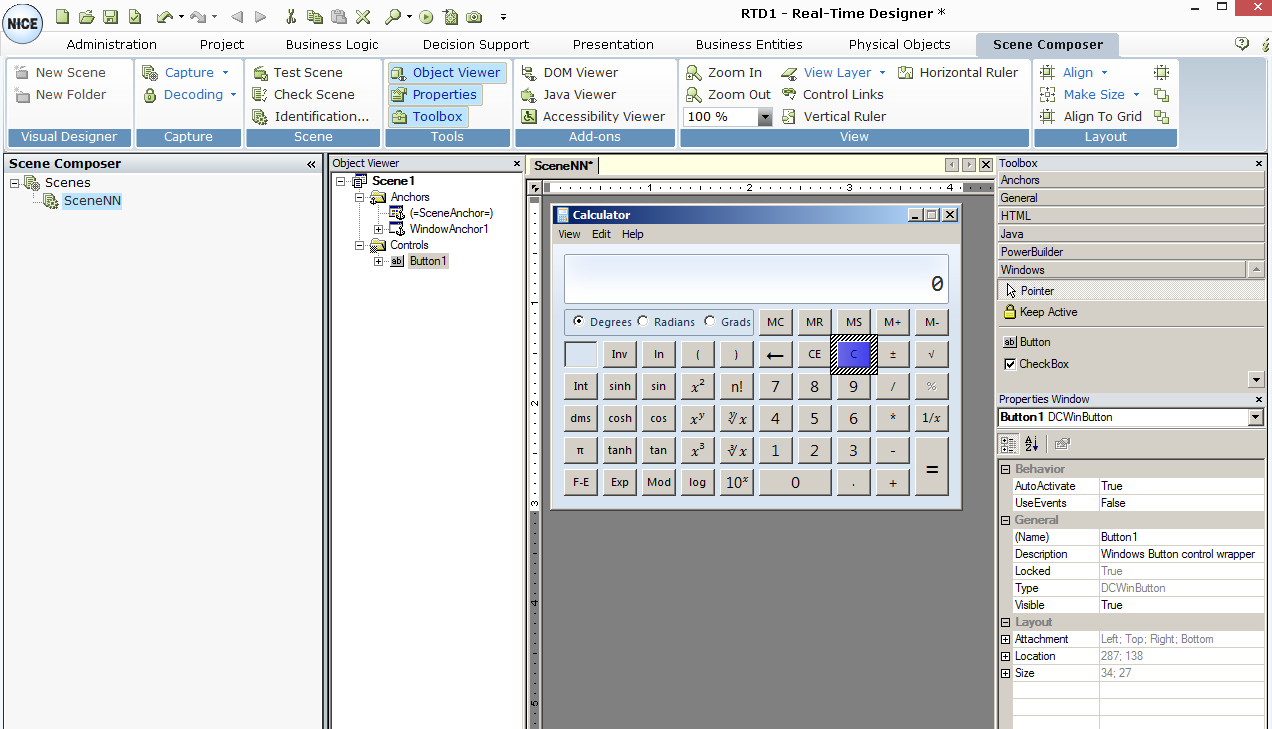
For example, in the window above, WindowsAnchor1 was added as an additional anchor, and the C button on the calculator was defined as a control in the scene (named ButtonC). Thus, the ButtonC sub-branch was added under the Controls branch. In the Scene Work Area, anchors are shaded red and controls are shaded blue.
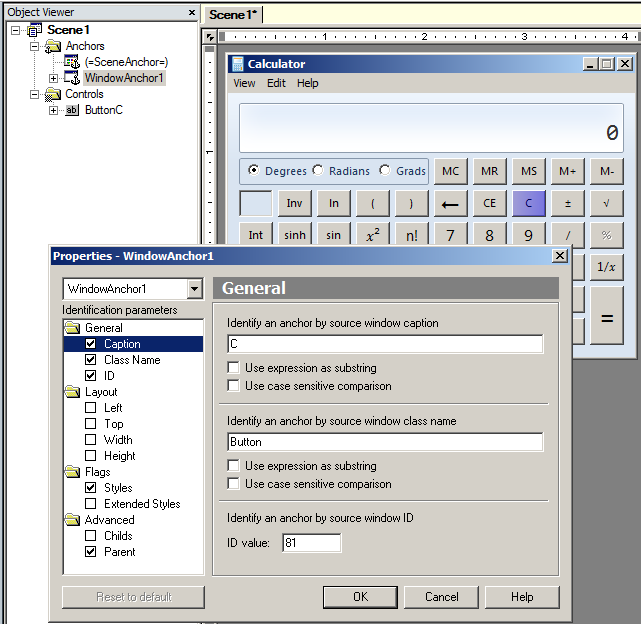
You can view the properties of an object (anchor or control) in the scene by selecting it in the Scene Work Area. This action shows that object’s properties in the Properties window. You can also open Properties windows for WindowAnchors. For example, click the C button in the Scene Work Area to create the control DCWinButton. Then right-click WindowAnchor in the object viewer and then select Properties:
Let’s walk through an example that describes how to define a Windows radio button as a control in a scene.
| 1. | In the Toolbox, click Windows to display a list of Windows control types. |
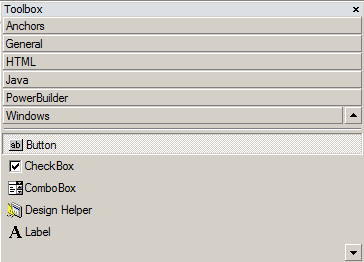
| 2. | In the Toolbox, use the arrow to scroll through the options and then click  in the Windows section. in the Windows section. |
All items detected as radio button-type controls are shaded red in the Scene Work Area:
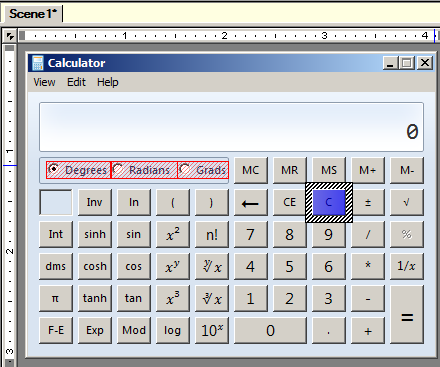
Click the Point option in the toolbox to deselect a button or another previously selected option.
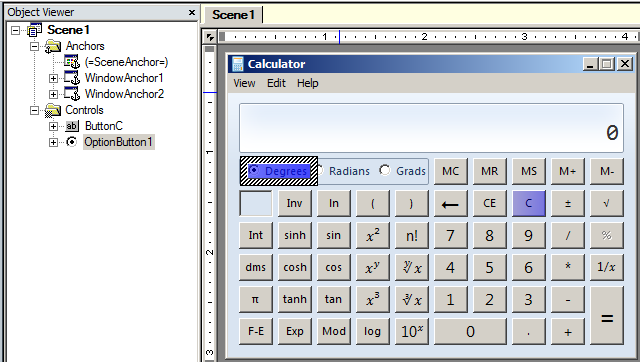
| 3. | Select one of the radio buttons in the Scene Work Area to designate it as the control. In this example, the Degrees button was selected. This radio button is added in the Scene Composer tree as the OptionButton1 sub-branch under the Controls branch. |
| 4. | Next, follow the explanations in the controls sections to learn how to use the specific controls. |